If you haven’t read part 1, you may want to start there.
In the last post, we left off with a working reverse proxy, but we couldn’t access Jupyter lab due to
its auth enforcement. Because of how we’re setting this up, we will be handling
authentication upstream of Jupyter Lab, and we don’t want to rely on them for handling authentication. What we are going to do here is generally considered “unsafe.”
Again, if you’re looking to do this for your team, check out Jupyter Hub–it probably makes more sense
for your use case.
To disable token auth, we will update our Jupyter Lab config.
There is an extensive config file for Jupyter Lab. In a production environment, I recommend using it (you can generate a sample file
by running jupyter notebook --generate-config). But, for this toy example, we will pass
our config as cmd line args. To disable token auth and to allow same-origin requests, we’re going to update our Jupyter Lab
Dockerfile Entrypoint to include these arguments
"--ServerApp.token=", "--ServerApp.password=", "--ServerApp.allow_origin", "*"
Our Dockerfile should now look like
FROM ubuntu:20.04
ENV DEBIAN_FRONTEND=noninteractive
RUN apt-get update && apt-get install -y \
      python3-pip \
      python3-dev && \
      python3 -m pip install jupyterlab

RUN useradd -ms /bin/bash jupyter
EXPOSE 8888
ENTRYPOINT ["jupyter", "lab", "--ip=0.0.0.0", "--port", "8888", "--allow-root", "--ServerApp.token=", "--ServerApp.password=", "--ServerApp.allow_origin", "*"]
And if we rebuild and start our docker compose again
docker compose build && docker compose up
We now get through to Juypter!
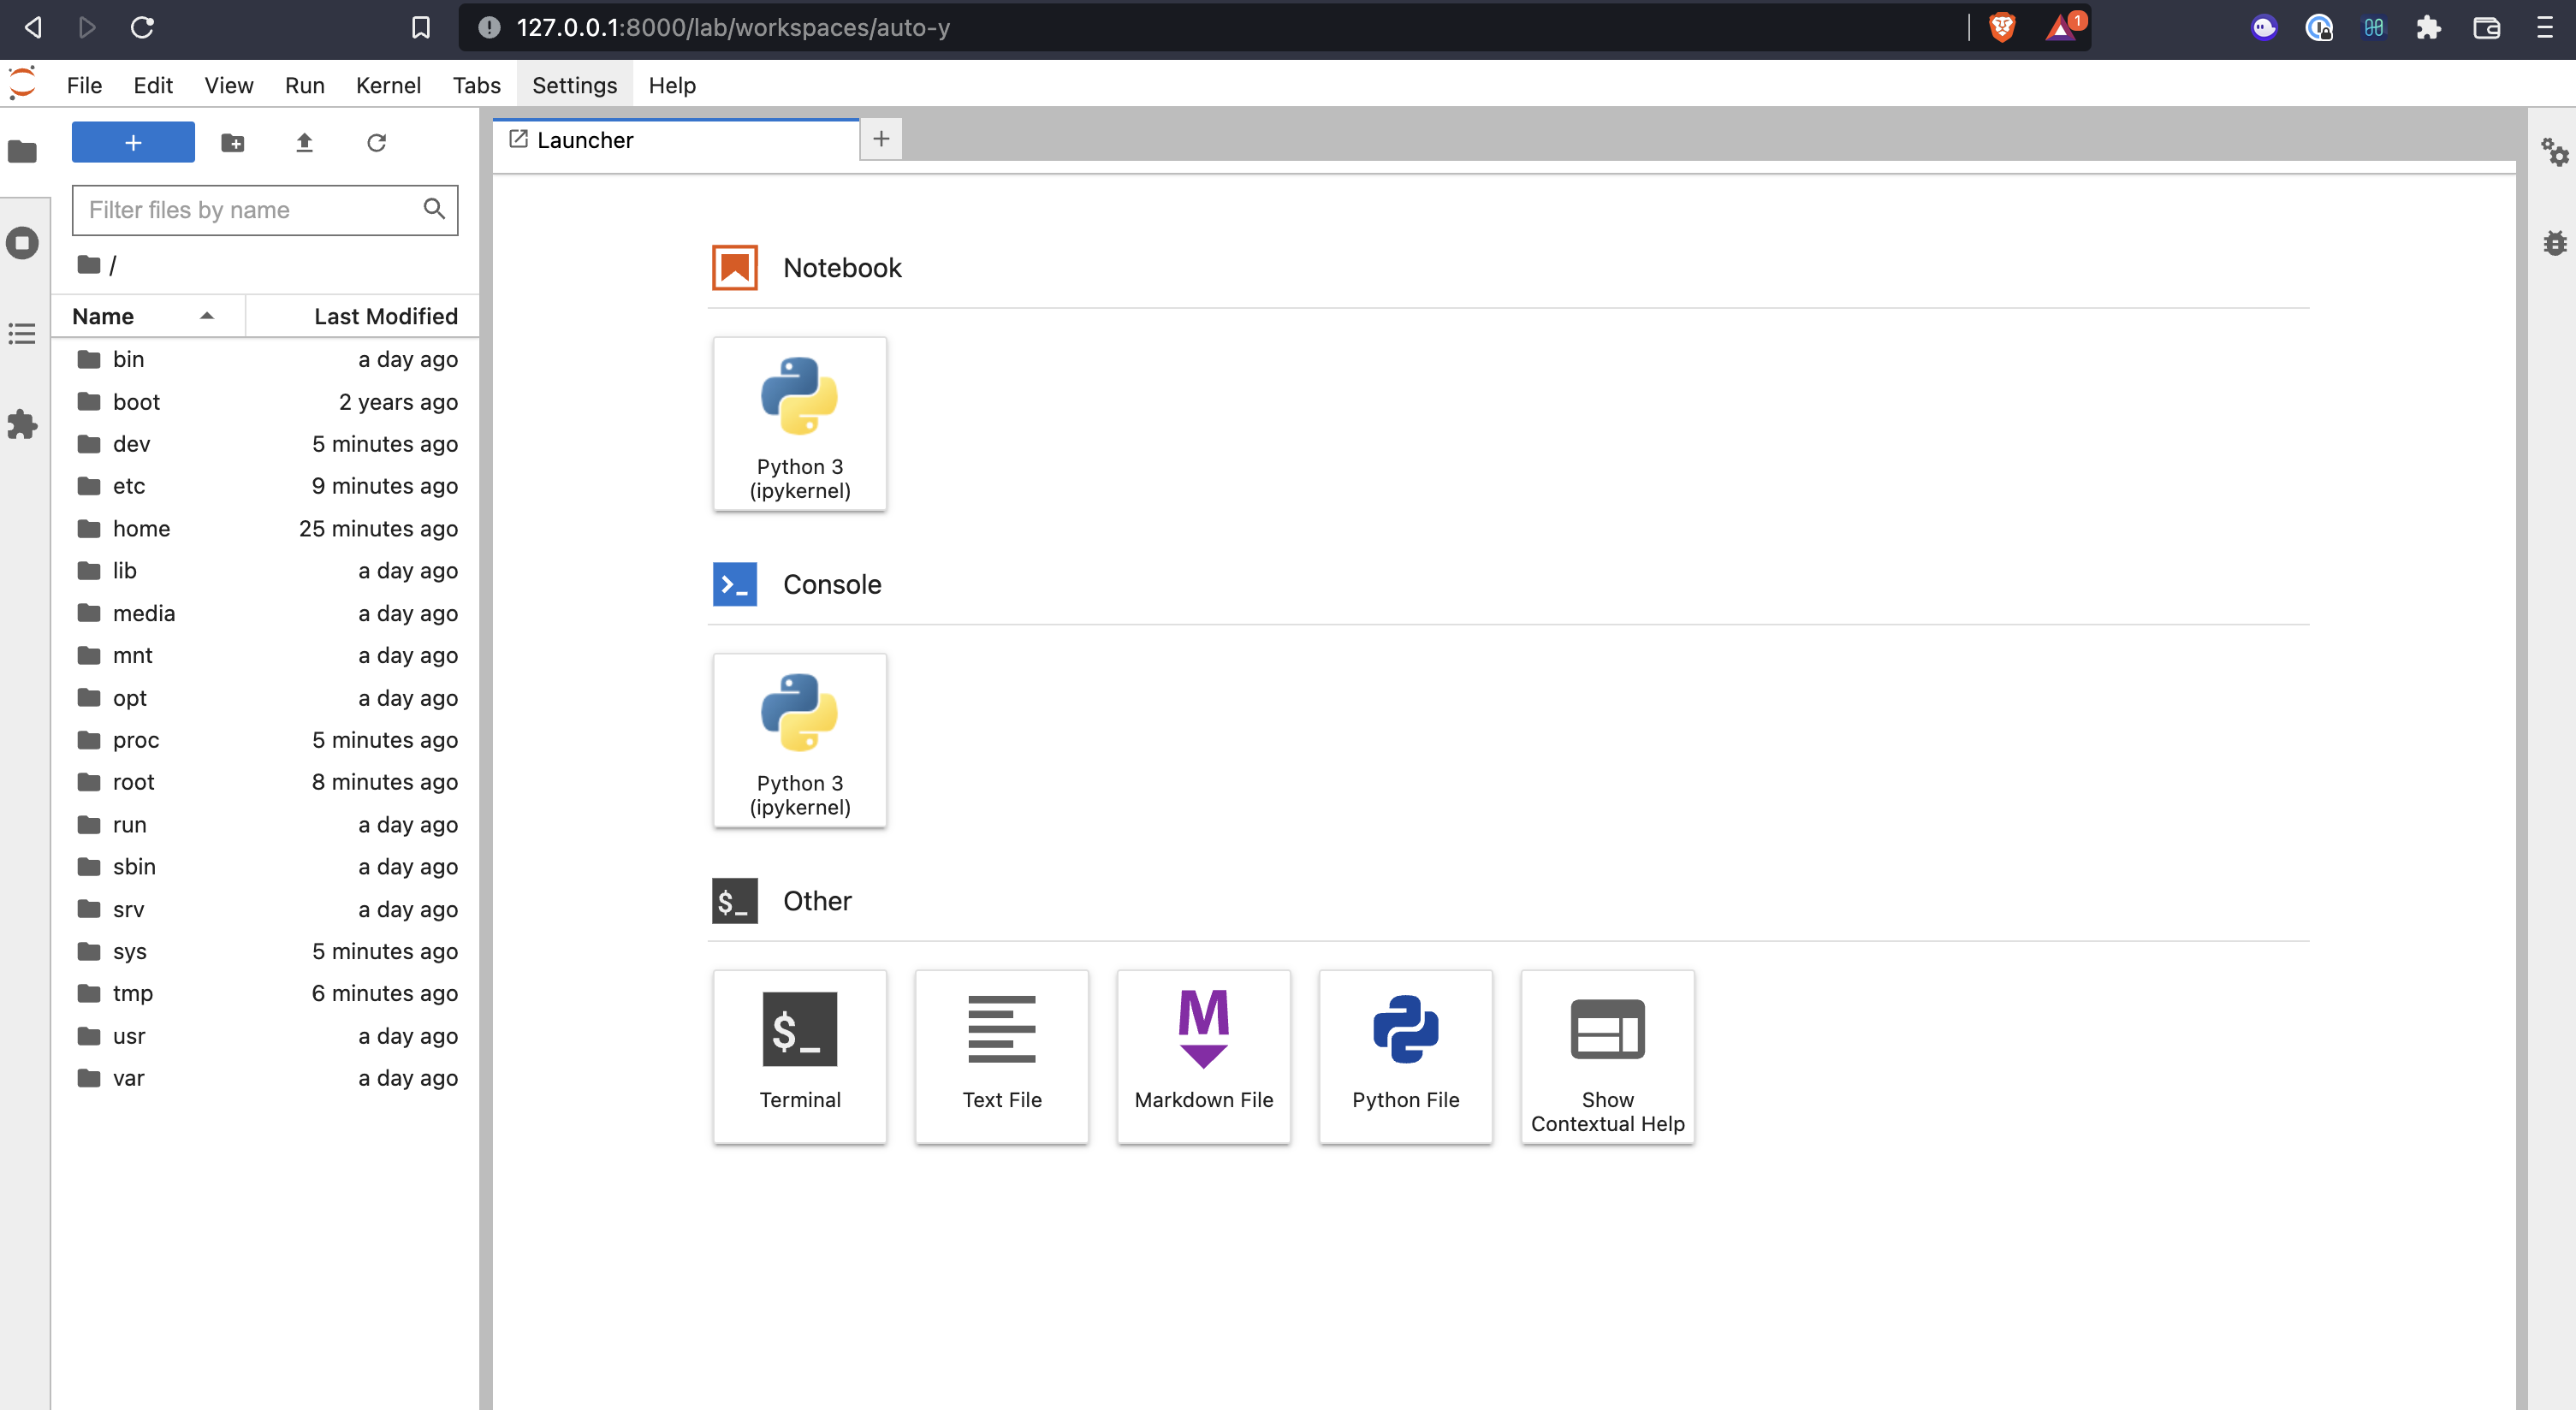
But if we try and open the Python kernel, we’ll notice it’s having trouble connecting.

Opening our browser dev tools shows that there is an issue with how our proxy is handling WebSockets
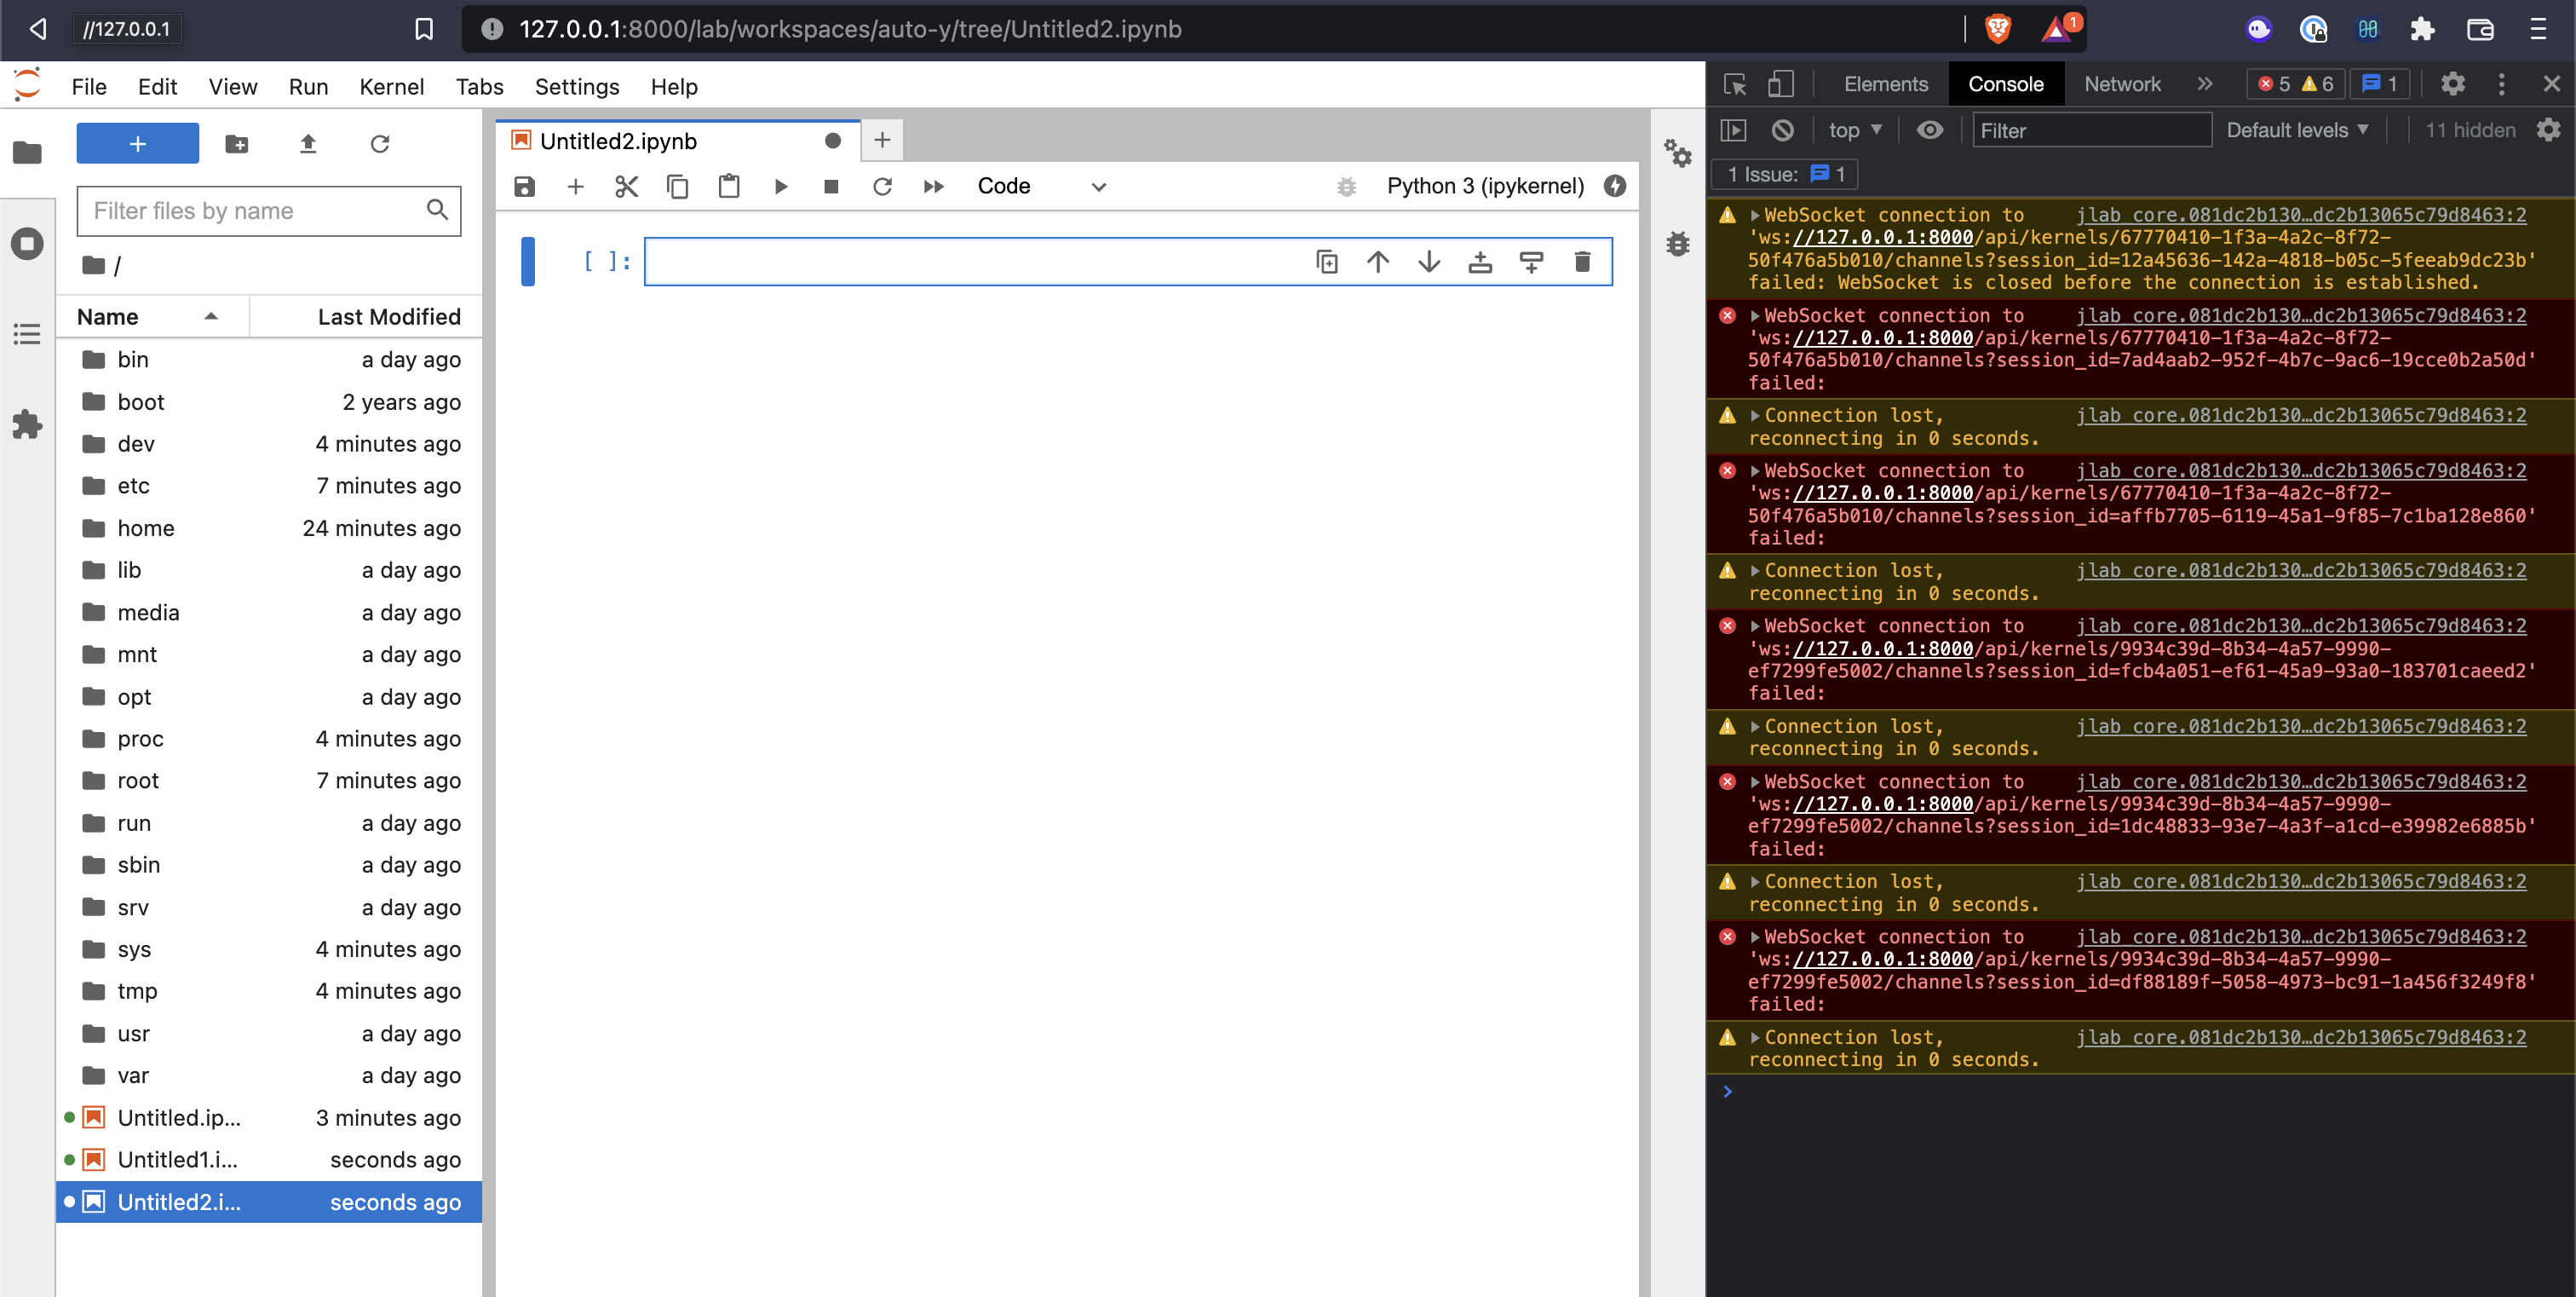
We’ll have to update our Nginx config to address this.
We will add these lines to set headers properly for WebSockets to our / location in the server block.
...
  server {
    listen       8000;
    server_name  localhost;

    location / {
        proxy_set_header Host $host;
        proxy_set_header X-Real-IP $remote_addr;
        proxy_hide_header "X-Frame-Options";
        proxy_pass http://upstream_jupyter;

        # websocket support
        proxy_http_version 1.1;
        proxy_set_header Upgrade "websocket";
        proxy_set_header Connection "Upgrade";
        proxy_read_timeout 86400;
    }
  }
...
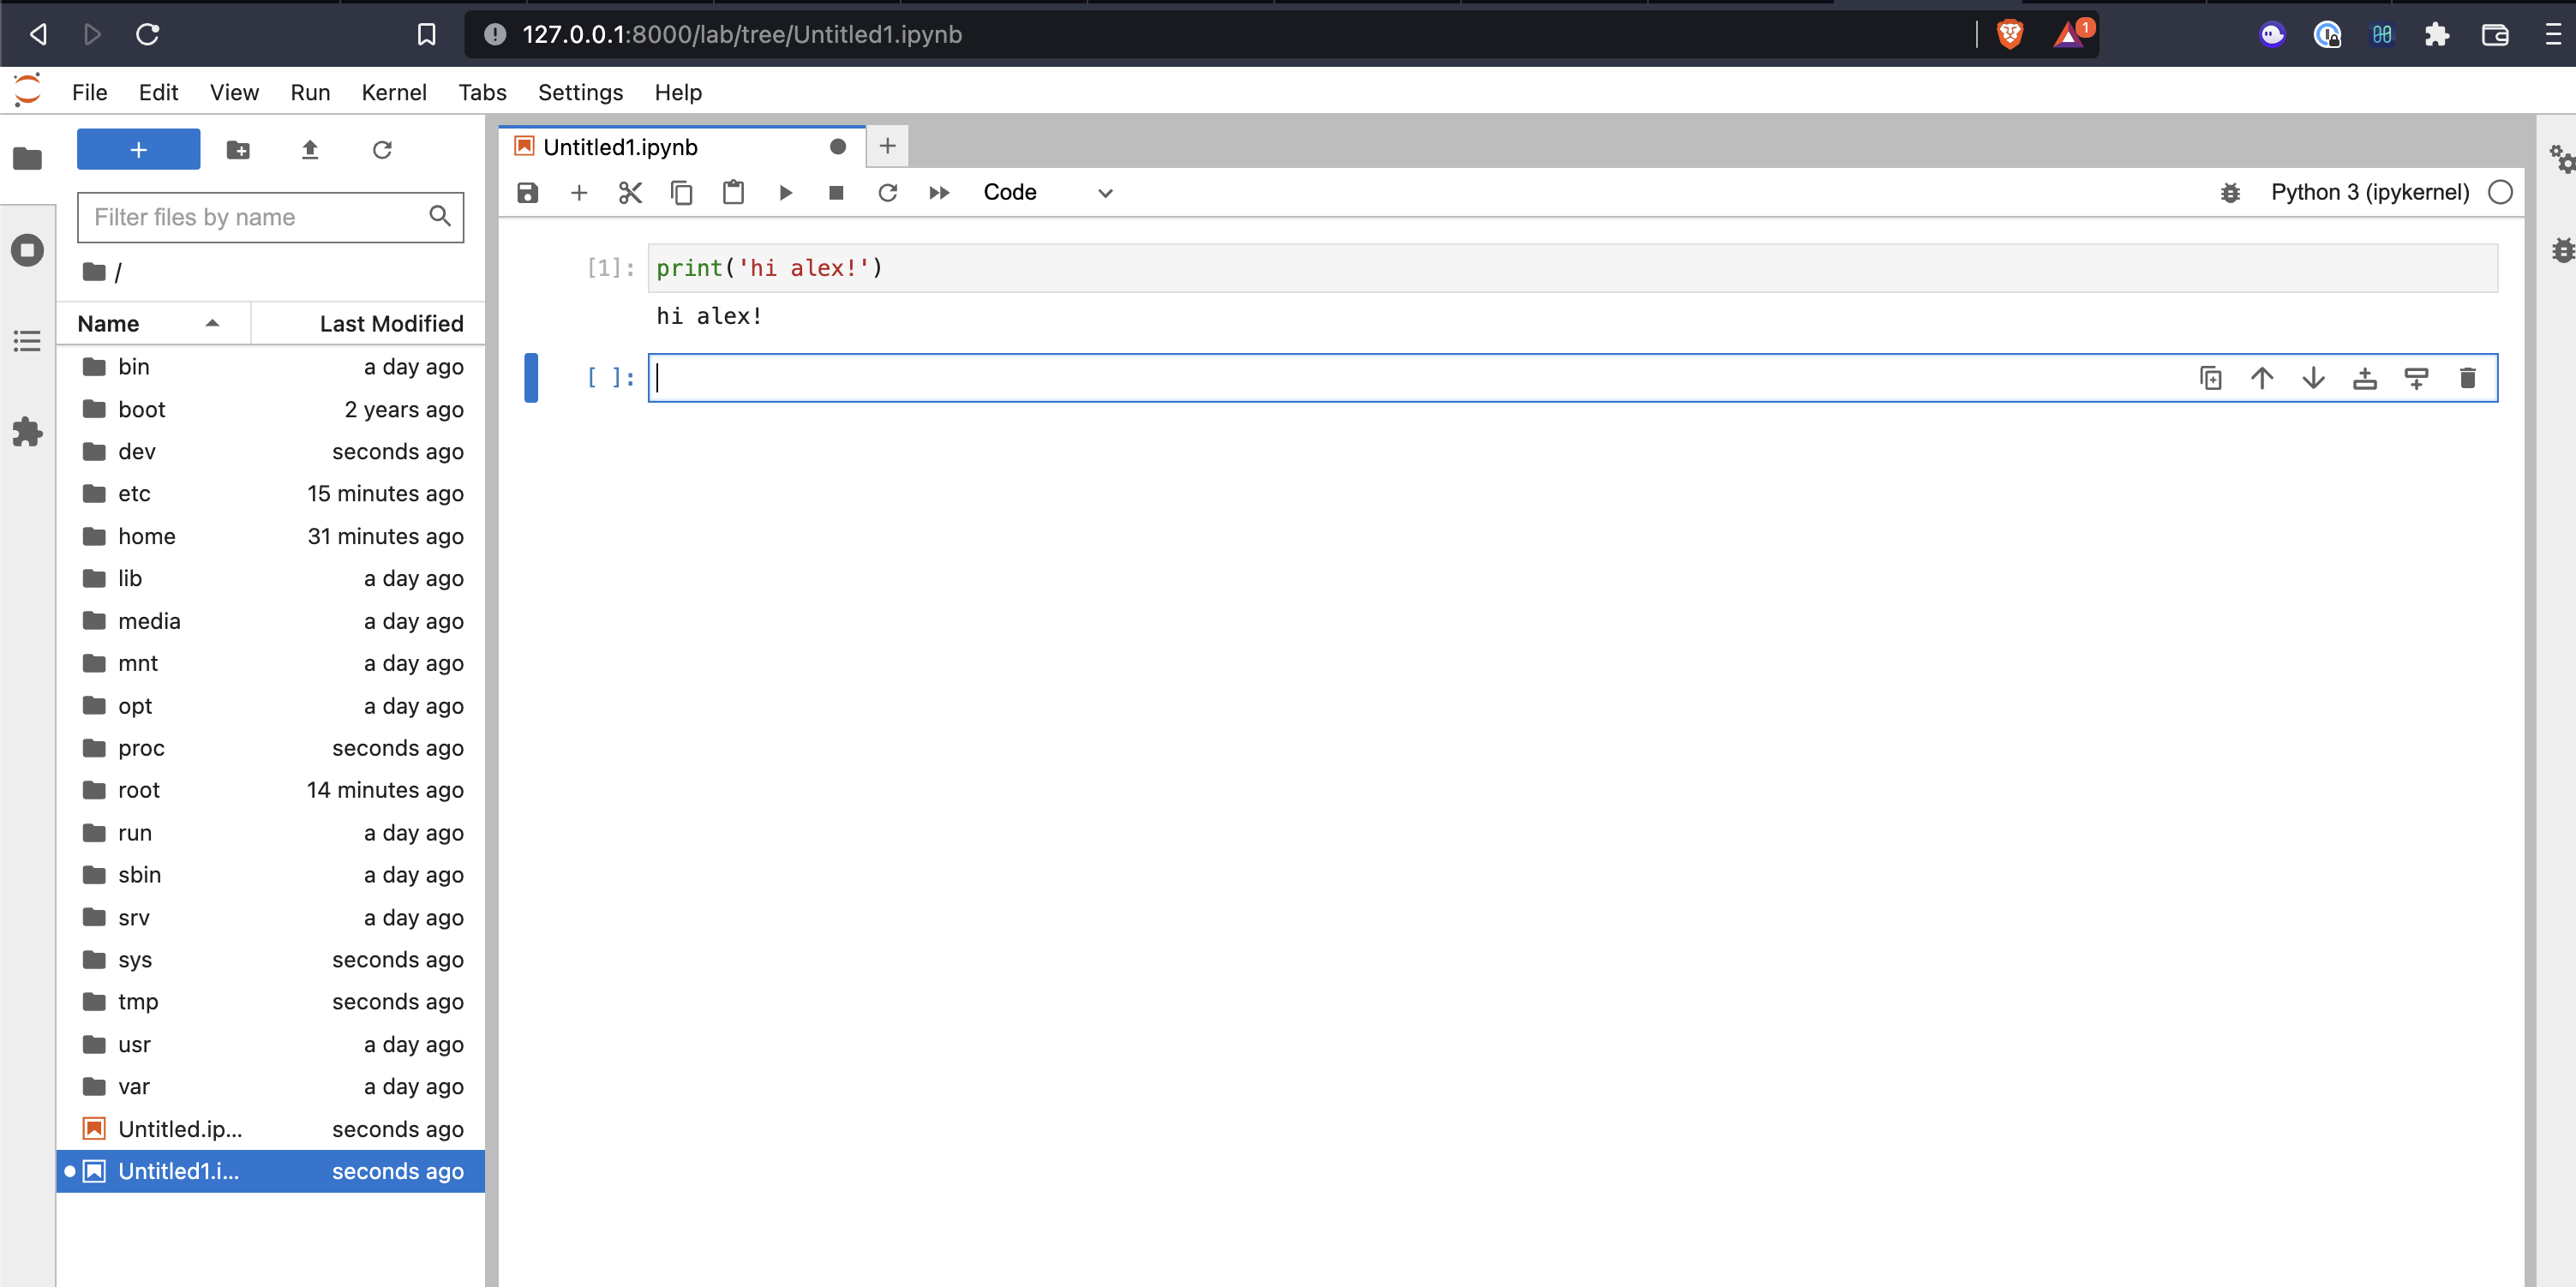
And now, if we restart our containers using the updated config, we’ll see our kernel connects!
If you’re wondering how we will handle security when we’re basically giving whoever is using this a terminal into our cloud, the answer is using AWS to isolate the instance via IAM roles/ policy. We aren’t going to get too much into that in this post, but it is a valid concern. There isn’t much we can do to prevent a privilege escalation/container escape from a sophisticated user, but we can at least not give root access.
We’re going to update our Jupyter Dockerfile to have a new user, ‘jupyter’, and we’ll run Jupyter Lab as this user.
...
RUN useradd -ms /bin/bash jupyter
USER jupyter
...
We’re also going to update our ENTRYPOINT, so the Jupyter Lab root directory is set to the Jupyter user’s home directory
"--ServerApp.root_dir", "/home/jupyter", "--ServerApp.notebook_dir", "/home/jupyter"
Our Dockerfile should now look like
FROM ubuntu:20.04
ENV DEBIAN_FRONTEND=noninteractive
RUN apt-get update && apt-get install -y \
      python3-pip \
      python3-dev && \
      python3 -m pip install jupyterlab

# add user and switch to them
RUN useradd -ms /bin/bash jupyter
USER jupyter

EXPOSE 8888
ENTRYPOINT ["jupyter", "lab", "--ip=0.0.0.0", "--port", "8888", "--ServerApp.token=", "--ServerApp.password=", "--ServerApp.allow_origin", "*", "--ServerApp.root_dir", "/home/jupyter", "--ServerApp.notebook_dir", "/home/jupyter"]
If we reload our site, we’ll see that the working directory is now set to /home/jupyter, and if we try to
write to /, we’ll get a permissions error. It’s important to note that while this makes it a little more
difficult for a malicious user to take over this ‘instance’, we will be giving them access to the internet,
the ability to download and install packages, execute code, etc. It would not be too difficult for someone with mal
intent to get around this. Changing the user and working directory does more to help an innocent user from accidentally breaking
something.
Great! Now we have disabled token authentication, added a system user (who is now running Jupyter), and changed our notebook directory to our user’s directory! In the next post, we’ll set up a task definition and deploy to ECS.